
Woodwork
Other
Woodwork
Other
I live in a flat with tight access up some stairs, so the task getting large items of furniture in and out falls somewhere between tricky and impossible. For a large sofa, something that comes in parts is my only option.
From the large furniture retailers, a recliner sofa is an option since most of those come in sections. But they're expensive, and I didn't want recliners anyway.
Ikea was another option I looked at. Some of their sofas have the seat and back as separate parts, so would easily fit up the stairs.
In the end I bought a sofa from nabru.co.uk. Their sofas are flat-packed for self assembly, and none of the parts are bigger than a person, so anywhere you can get in, you can get a Nabru sofa in!
Their sofas all follow the same basic style (as they're all made from the same range of parts) but there are extensive customisation options. You can have a straight or corner sofa, different combinations of seat widths and numbers of seats, 5 arm styles (or no arms), dozens of different fabrics, and various other customisations. Remarkably, given all those options, they will also do next-day delivery.
The prices are extremely convincing too, considerably cheaper even than Ikea.

Here's a picture of some of the components as delivered. You can see the front and back structural panels leaning against the wall here, along with two of the three seat bases (what have I done with the third one? It must be around here somewhere). There are also several large bags containing cushions and covers; peeping out behind them you can just see another bag of foam bits. At the bottom of the frame are the two arms, covered in grey foam. Somewhere out of shot are the seat backs and a stack of 6 cross-struts.
The build took me about 2 hours working on my own. Extra hands would certainly make the job quicker but there's nothing that really needs two pairs of hands. Some of that time was spent vacuuming the residual machining dust from the MDF parts, which is not something they mention in the instructions but nevertheless I would recommend.

The first step in the instructions is to slide the seat bases and backs into the covers. Why is it the first step? I don't know. We don't need them yet. The order of tasks in the instructions seems a bit illogical in some places. But that's what it says so that's what I did.
Getting the seat bases in is hard work. I was quite tempted to give up at this point and say sod it, I'll just leave it like this and sit on the cushions on the floor!

The seat cushions and backs put to one side, I've assembled the base structure. No screws - it just slots together. I've also attached foam to the front and back panels using the pre-applied sticky tape.

Now I've put the front and back covers on. Velcro holds them together. I've brought in the arms and put the covers on those as well.

I've fitted the arms to the frame, and slotted the seat backs into place. It's starting to look like a sofa now!
The final steps will be to drop the seat cushions into place, and then add the back cushions.
The final result (with a couple of conveniently colour-coordinated cushions from Homebase to complete "the look"):
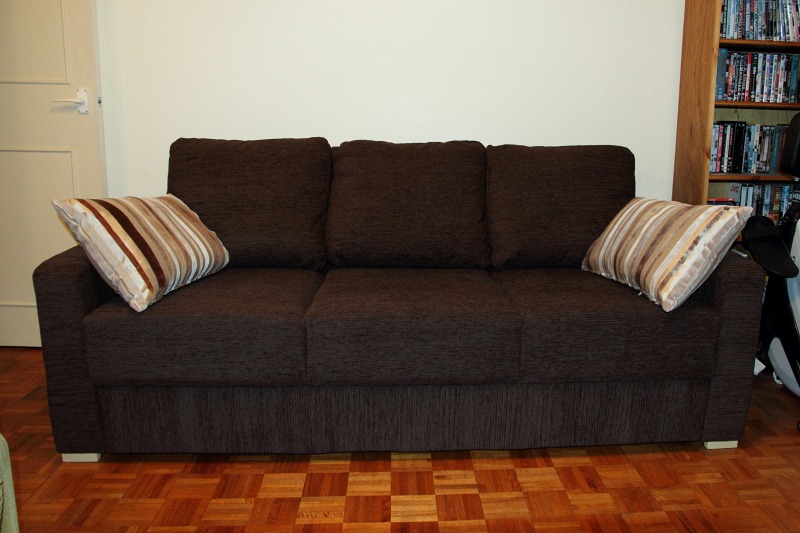
I'm very pleased with it. It's sturdy, comfortable, the fabric is nice and it looks half-decent. Actually the several hundred pounds I saved over what I was going to buy from DFS probably elevates the looks from half- to fully-decent.